Booking Screen
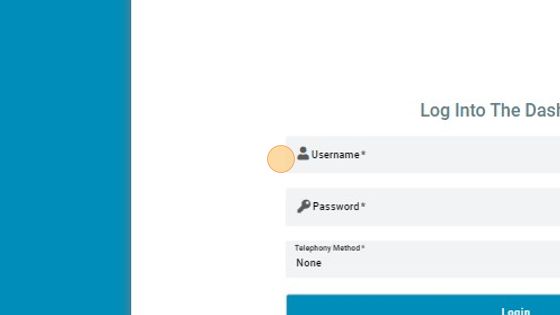
1. Login Screen: This is how your login screen would look like. Enter your credentials, select telephony method and press login.
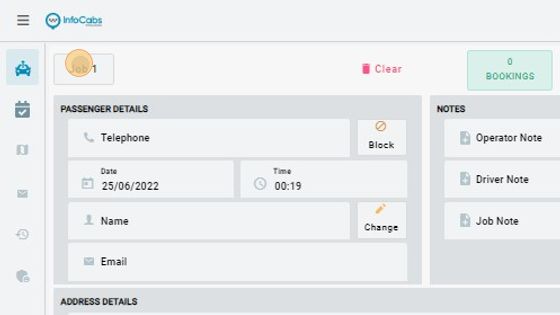
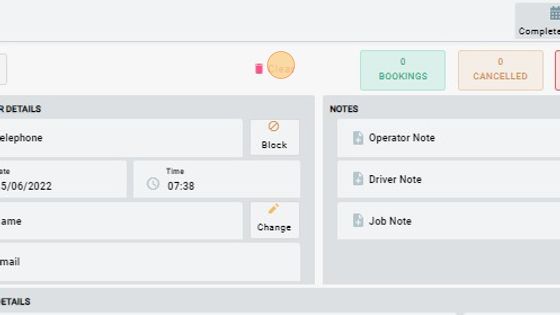
2. Telephone: When customer rings, the number appears in this Telephone section.
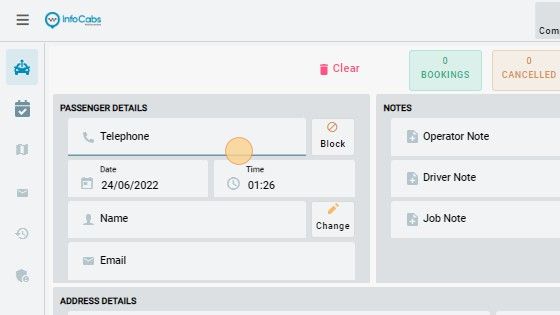
3. Block Number: You can block number by simply pressing this block button.
4. Booking Date: You can edit or select date by clicking on the calendar icon. It will show you a pop up calendar where you can select date from. As shown below.
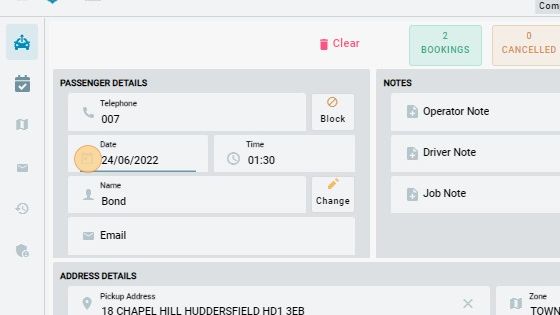
5. Booking Time: You can edit or select time by clicking on clock icon. It will show you a pop up to select time from. As shown below.
6. Customer Name: The Name of the customer appears in Name section.
7. Change Name: you can also change the Name by using this "Change" button in front of Name.
8. Email: Customer's email will be shown in email section.
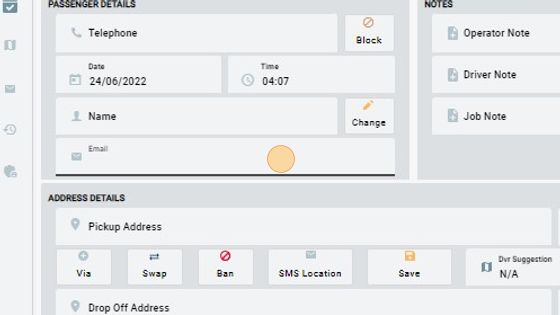
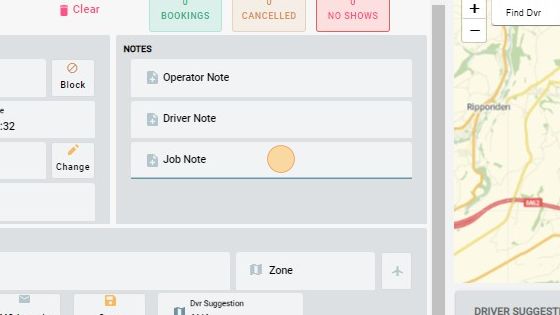
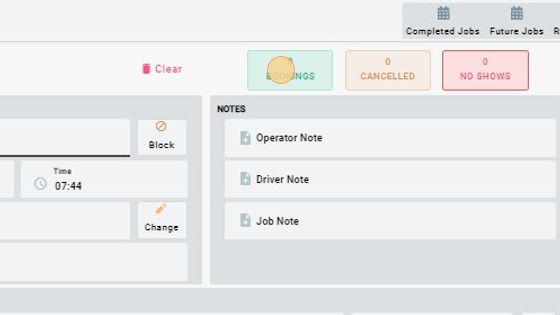
9. Operator Note: Operator Note is an option used for the operators where you leave a note for the operator regarding a particular job so the next time it comes operator can see that note.
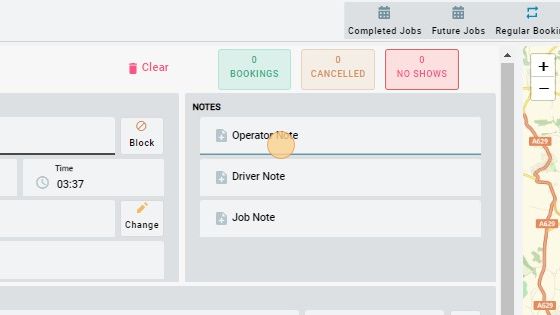
10. Driver Note: Driver Note is an option used for drivers to let them know any info regarding a particular job they are going to receive.
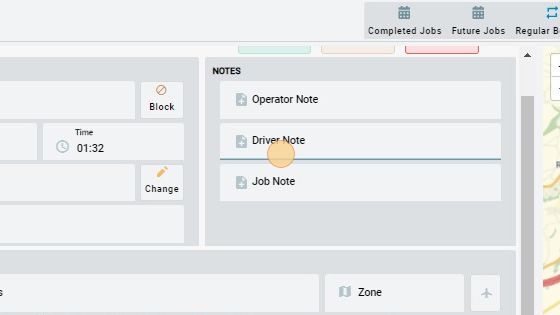
11. Job Note: job note is an option used to save any info regarding that job.
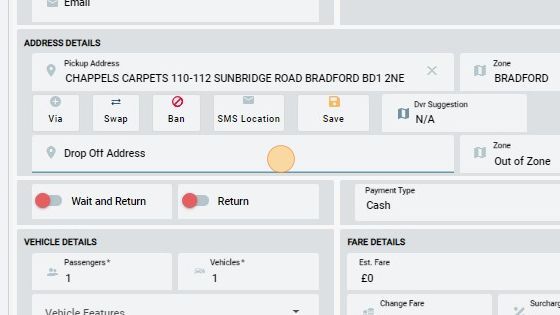
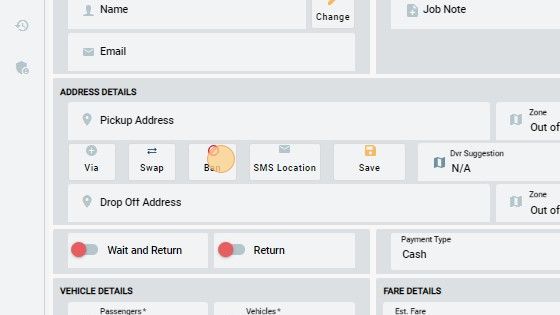
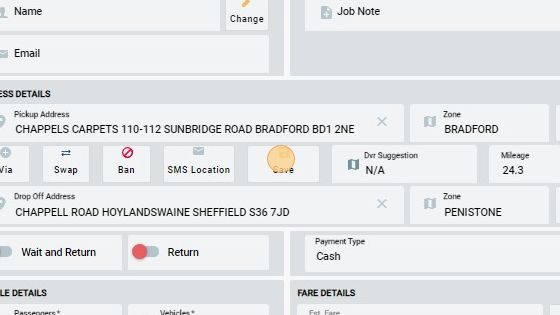
12. Pickup Address: You can type and select the Pickup Address from here.
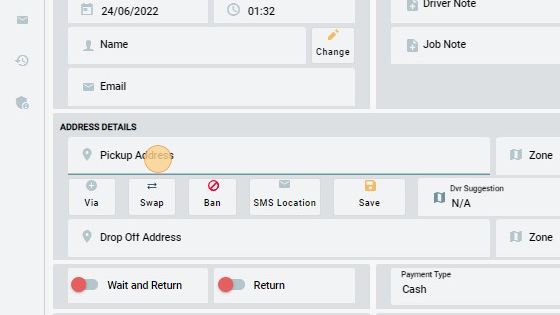
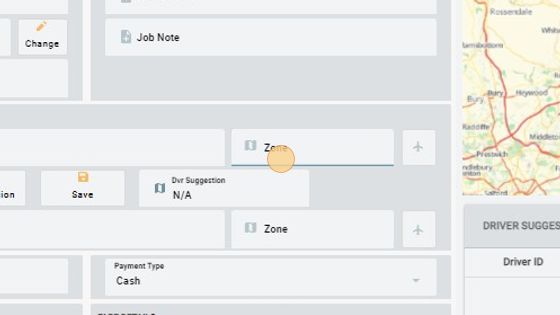
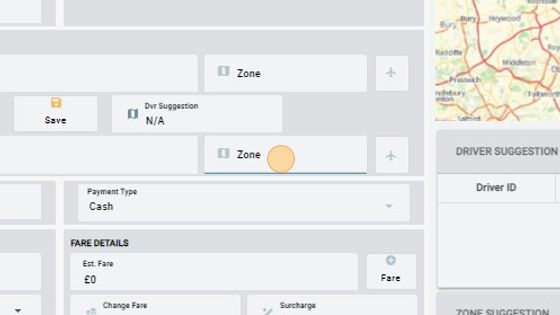
13. Pickup Zone Name: Zone in front of Pickup Address shows you the Pickup Zone Name.
14. Drop Off Address: You can type and select the Drop Off Address from here.
15. As Directed: You can either type and select Drop Off Address Or Select an option of As Directed.
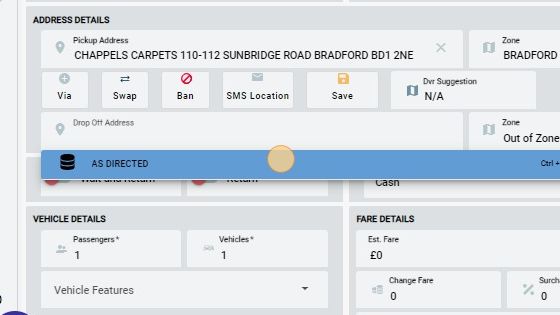
16. Drop Off Zone Name: Zone in front of Drop Off Address shows you the Drop Off Zone Name.
17. Adding Via: You can add a Via Address by clicking on this option. It will show a window where you can add address and save. As shown below.
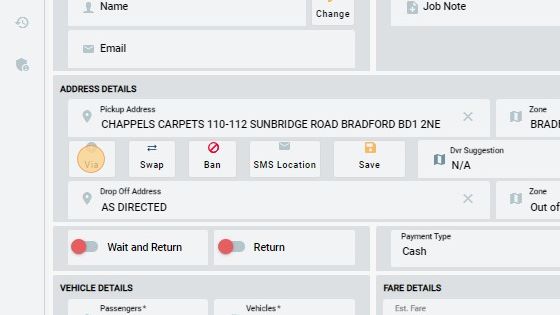
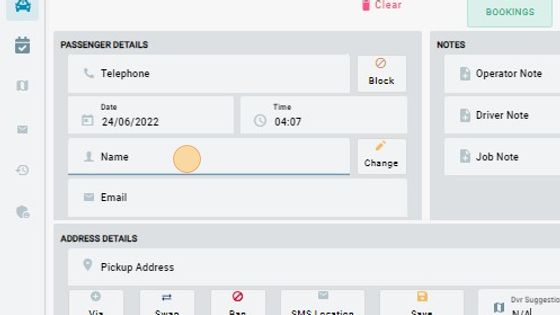
18. Swapping Addresses: You can swap the Pickup and Drop Off addresses by pressing swap button.
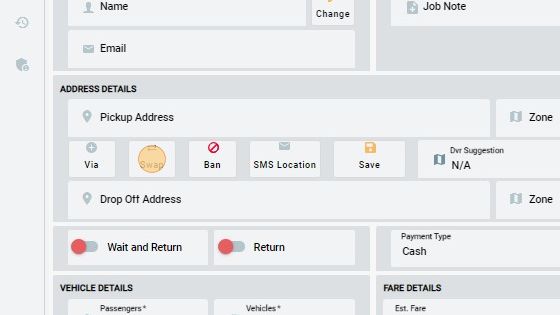
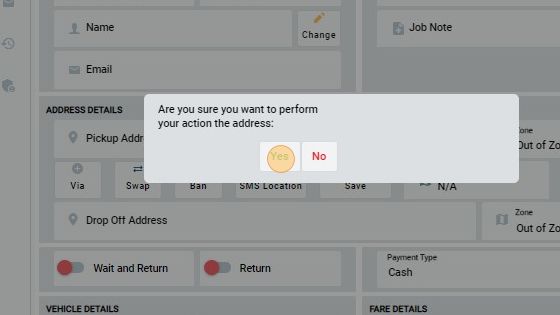
19. Banning An Address: You can Ban Address by clicking this ban button below the Pickup Address. By clicking on Ban it shows you a pop up to confirm.
20. Click Yes to confirm.
21. Saving Addresses: You can save an Address by clicking on Save Button below Pickup Address. By clicking on Save it shows you a pop up as shown below.
22. Type the Address, Post Code and Address Type as Airport, Station, Hospital etc and click save.

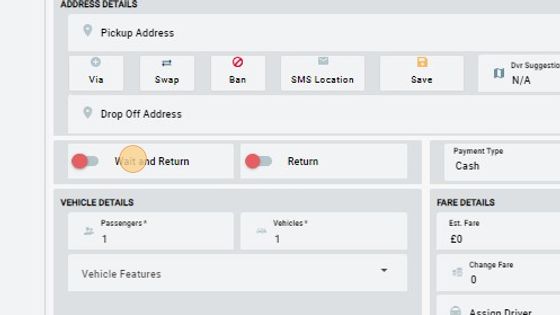
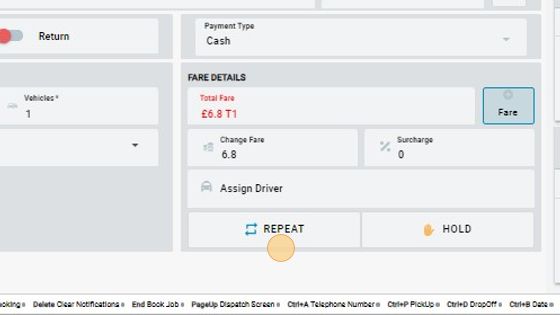
23. To Book A Wait and Return Journey: To book a wait and return job simply turn this option on, by sliding it to the right.
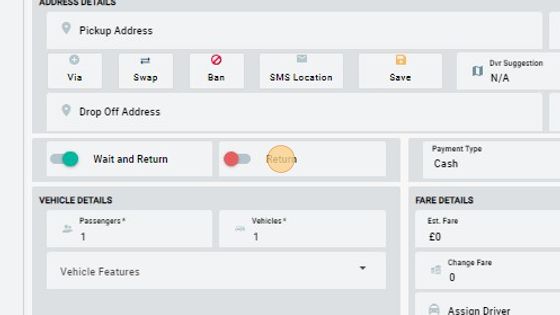
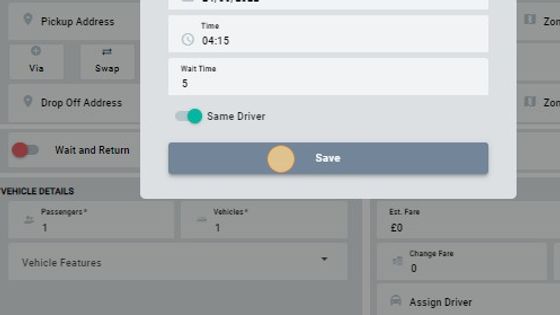
24. To Book A Return Job: To book a return journey simply turn this option on by sliding it to the right. By turning it on, It will show you a pop up window as shown below.
25. Select the return date, time and wait time and save. Job will be done by same driver if "same driver" option turned on.
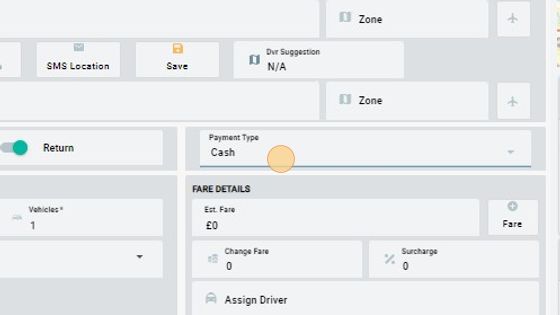
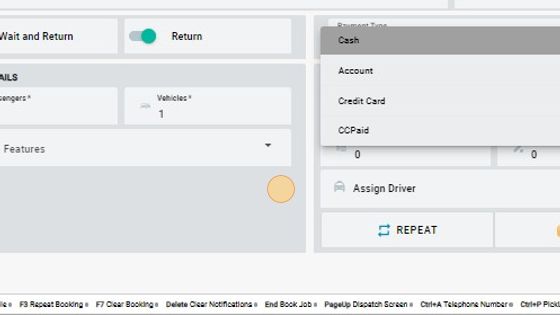
26. Select Payment Type: You can select payment type for the journey by clicking on "payment type" section. It will show you couple of different options as shown below.
27. So you can select from Cash, Account, Credit Card, CCPaid.
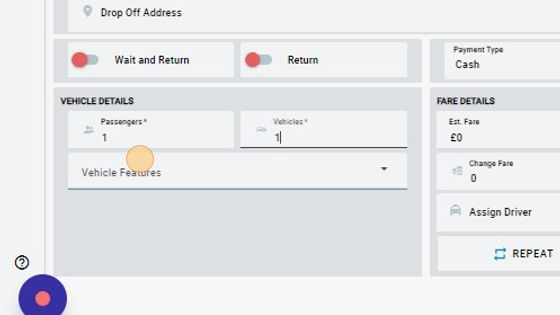
28. Setting Numbers Of Passengers: Total Number Of The Passengers For The Journey:
29. Total Number Of Vehicles For The Journey:
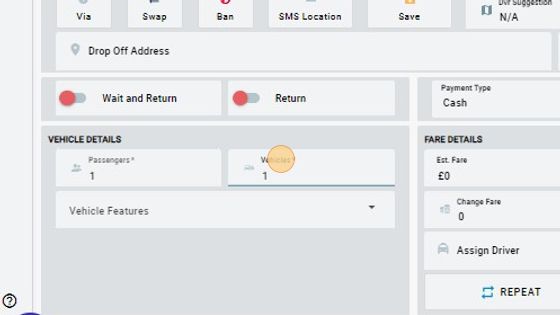
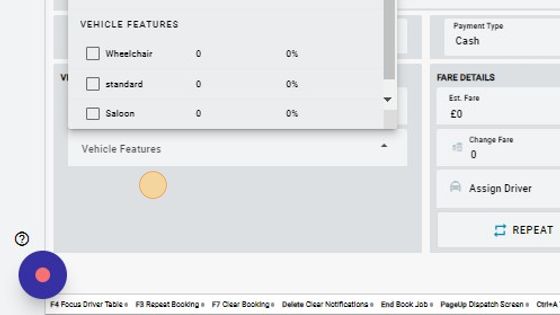
30. Vehicle Features: Using "Vehicle Features" field you can choose vehicle type and features. Click on it and select features as shown below.
31. By clicking on it, It shows you a window to select vehicle features from. Weather its saloon, standard, wheelchair, petfriendly etc.
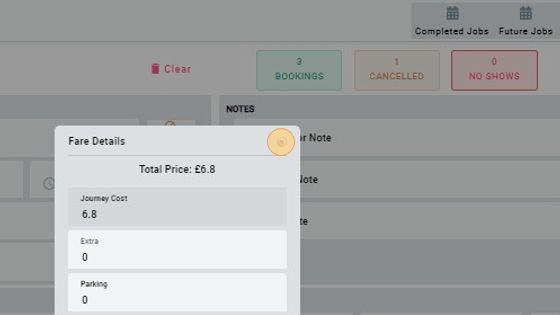
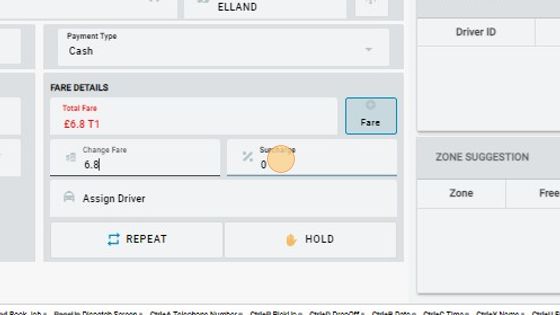
32. Total Fare: The total fare of journey will be shown in Total Fare field. As it shown below.

33. Add Fare: Click on Add Fare button it will pop up a window for you to add different prices (parking, pet, luggage etc) into the total fare of journey as shown below.

34. Add prices you want to add and save. These prices will be added into total fare of the journey on booking screen.
35. Change Fare: Using Change Fare field you can change fare and the total fare of the journey will be changed.
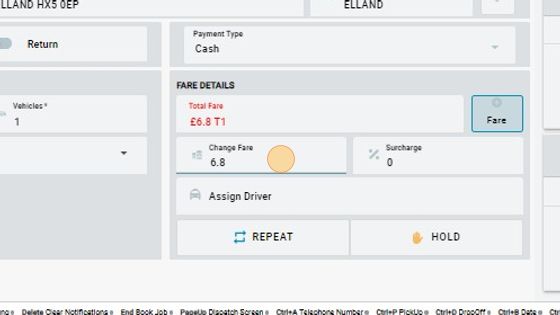
36. Surcharge: Using surcharge you can add surcharge into the total fare in percentage.
37. Assign Driver: By putting 'A' in this field you can Auto Assign job/booking. By putting 'H' in this field you can put the job on hold like you use this option if its the future booking. And by putting the driver's id you can send job to that particular driver as well.

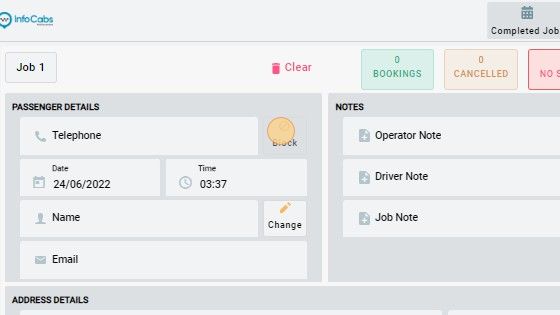
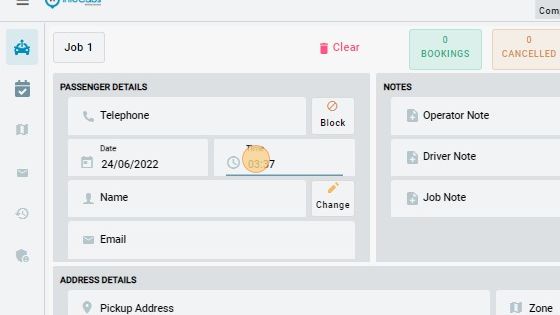
38. Hold: If you have filled all information of a job but wanna book it later so to use the same info later you click on hold. And whenever you wanna use it you just click it and all info you added before fills out automatically.

39. Hold bookings will be shown to you on top like shown below as Job1, Job2 et. You can simply click on it and info will be filled out that you have saved for that booking.
40. Repeat Job Booking: If you have booked a job and need that all info again you click on repeat to use the same info again.
41. Clear Booking: You use it to clear all job info at once.
42. Bookings: It shows you total number of bookings been done so far.
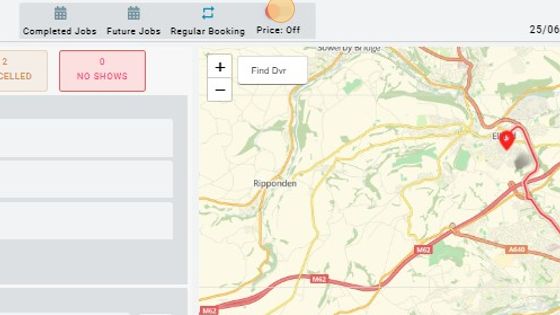
43. Cancelled: It shows you the total number of cancelled jobs.
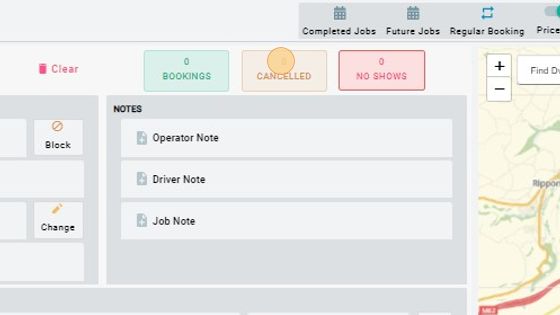
44. No Shows: It shows you total number of No Shows.
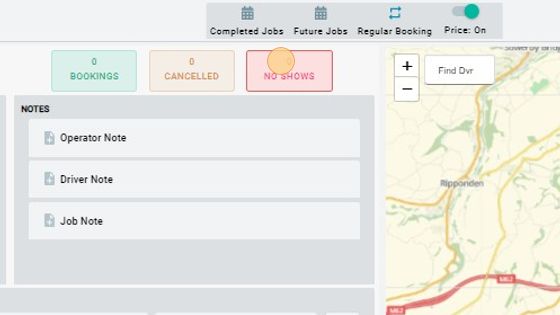
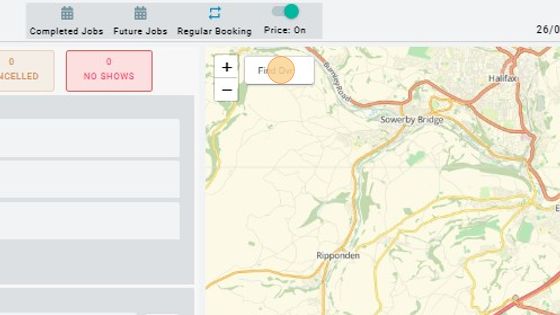
45. Completed Jobs: By clicking on 'Completed Jobs' you will be directed to all completed jobs on dispatch screen.
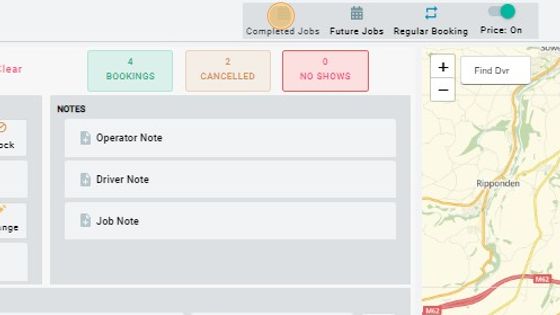
46. Future Jobs: By clicking on 'Future Jobs' you will be directed to all future jobs on dispatch screen.
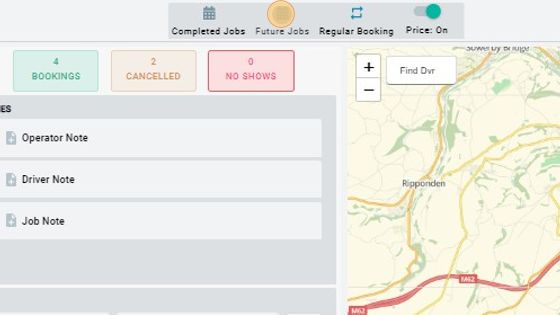
47. Price On: You can turn pricing on off by simply turning this 'Price On' button on and off by clicking on it.

48. Click here.
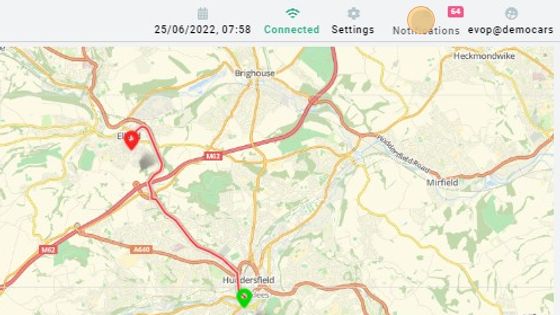
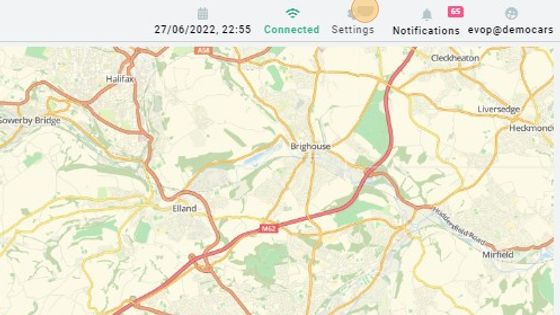
49. Date And Time: Here you can see the date and time.

50. Wifi: It indicates you if you are connected with the internet or not.

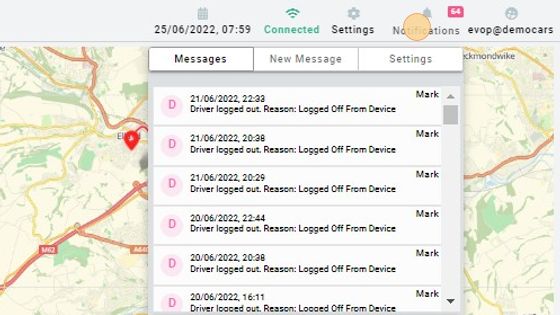
51. Notifications: Here you can see all notifications includes messages from drivers, operators etc.
52. when you click on it a drop down window will open like this. where messages tab will show you messages as shown below.
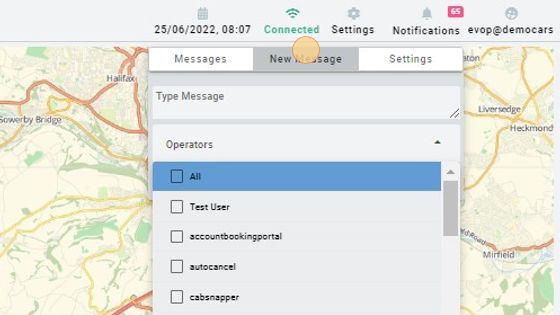
53. New Message: New Message tab will show you options as shown below to select new messages you want to see from.
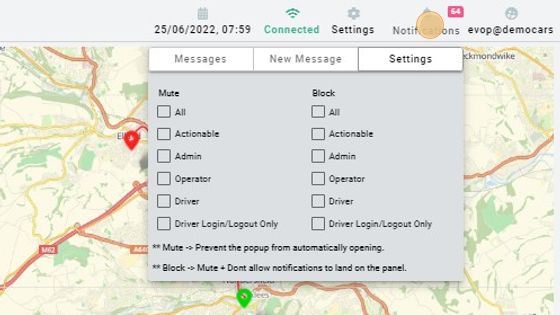
54. Settings: settings tab will show you options to mute or block messages you receive from driver, operator, or you can mute or block all messages by checking the 'All' box.
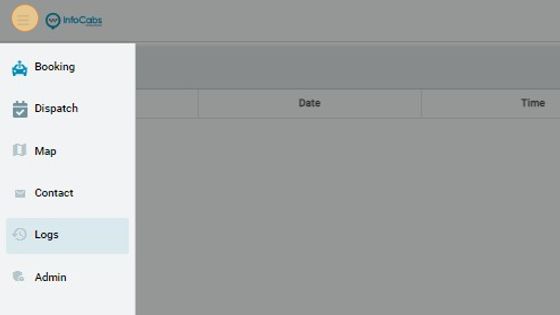
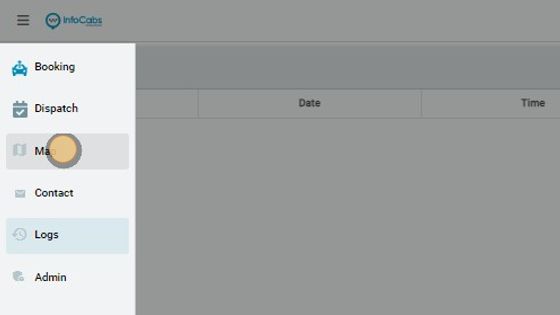
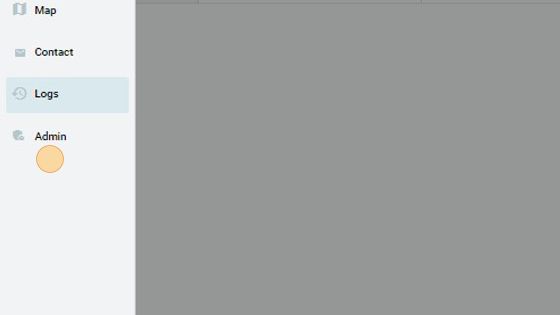
55. By clicking here you can access Booking, Dispatch, Map, Contact, Logs and Admin panels.
56. Navigate to http://evop.infocabs.com/user/0/logs
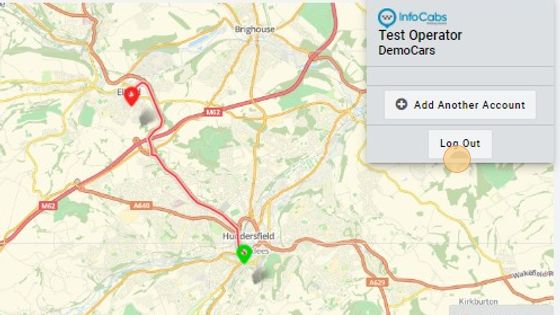
57. By clicking on Map a window will open for you to show you map as shown below.
58. map

59. By clicking on Contact a 'Contact' page will open as shown below.

60. This is how your contact page will open. You can send messages to driver or customer using this window.
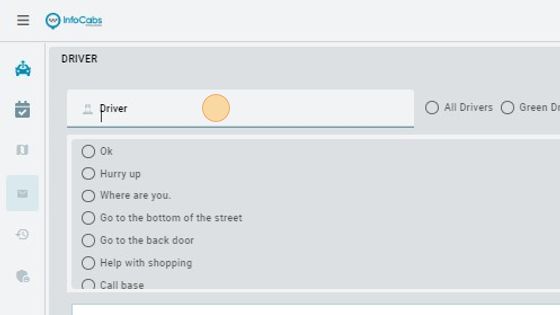
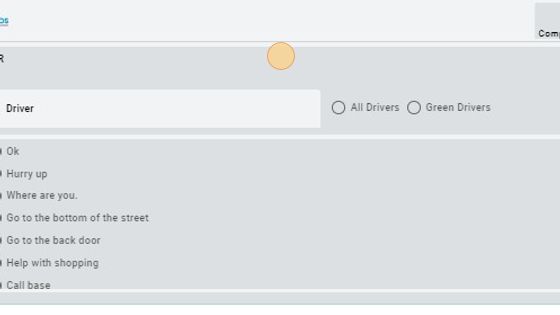
61. Message To Driver: To send message to driver write driver Id in driver field and select message from below and send. You can also select weather you wanna send message to All Drivers or only Green Drivers. And you can type any custom message in the box below.
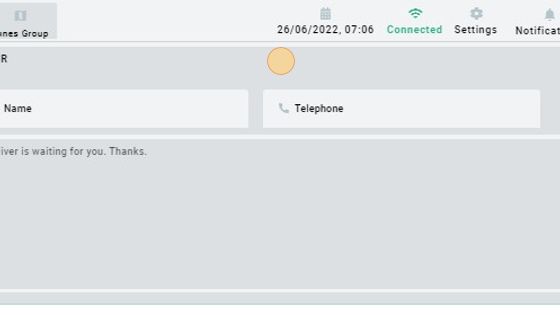
62. Message To Customer: To send message to customer write customer name in Name field and number in Telephone field , select message from below and send. And you can type any custom message in the box below.
63. By clicking logs page will open as shown below.

64. Here in logs page you can see information like which operator sent message and what was the message etc.
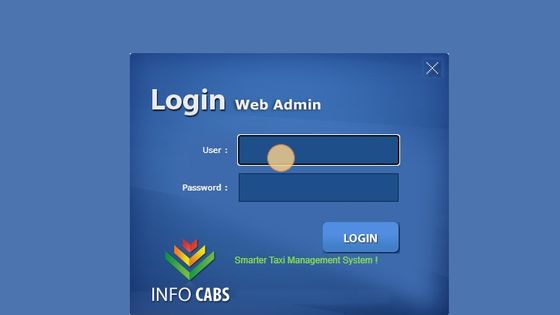
65. By clicking on Admin will open admin page for you as shown below.
66. Admin panel where you can login by putting in username and password to access admin settings.
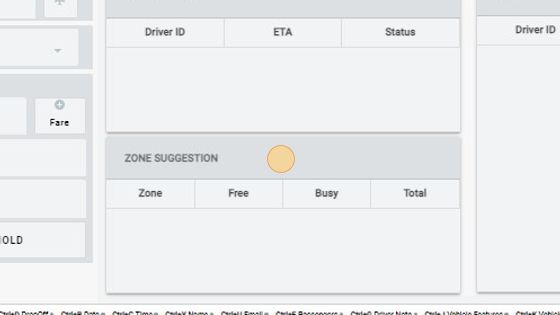
67. Driver Suggestion: This field shows you suggestions of available drivers.
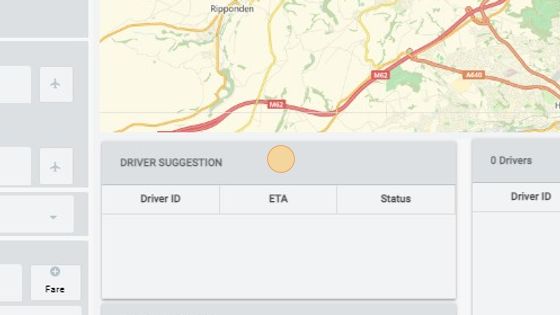
68. Click "DRIVER SUGGESTION"
69. Zone Suggestions: zone suggestion field shows you zone suggestions.
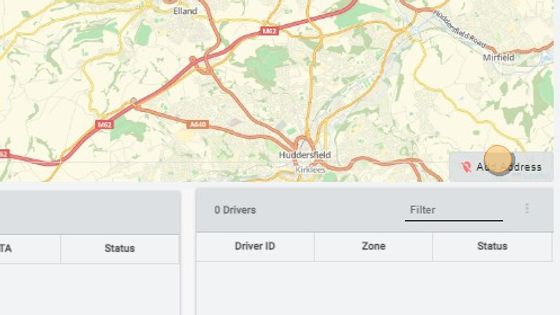
70. Driver: Driver field shows you all available drivers and their status. You can click on filer and search any particular driver by driver id as well.

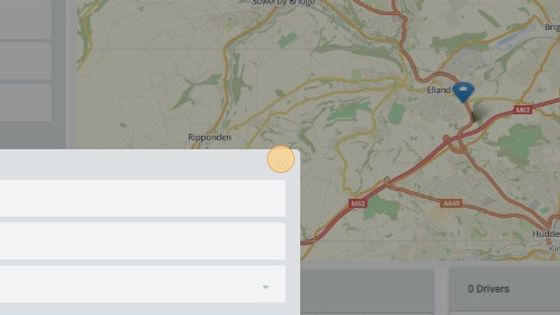
71. Click "0 Drivers"
72. Add Address: you can also add address by clicking on add address here.
73. then click anywhere on the map it will show you this window shown below.
74. Click "Yes"
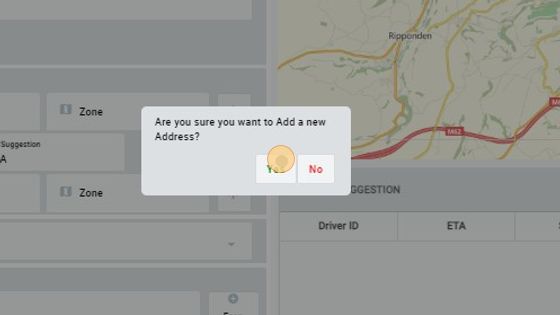
75. Fill address details as Full Address, Post Code and Address Type and save. Address will be added.
76. Find Driver: You can find driver by typing driver id here it will show you driver's location where he is on the map.
77. Settings: By clicking on settings a drop down window will open with some settings as shown and explained below
78. By clicking on Telephony Methods will give you options to choose your telephony method like bria, extension, infoCOMMS.web as shown below

79.
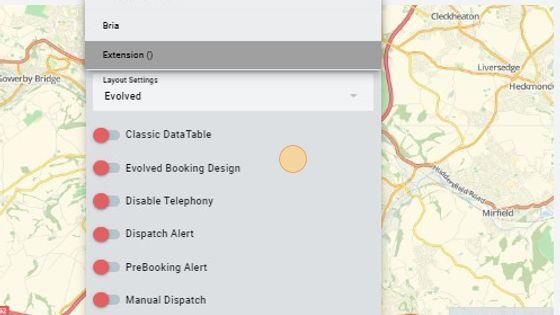
80. Layout Settings: By clicking on layout settings will give options to choose evop layout as shown below.
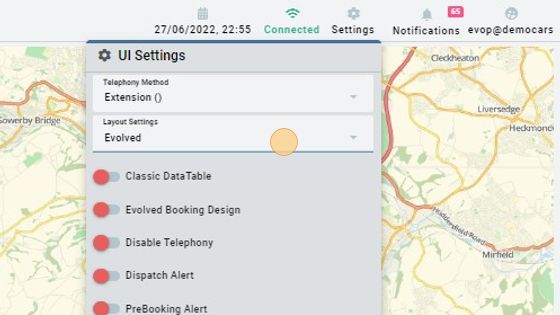
81.
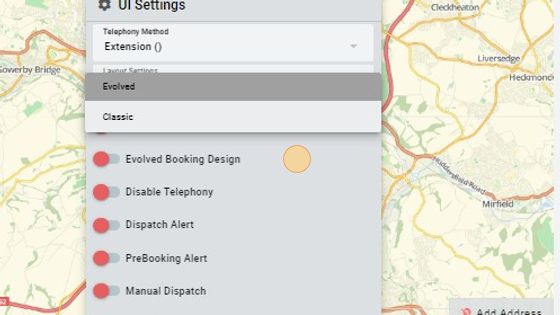
82. There are other options you can turn/off them on by sliding or press Auto All.
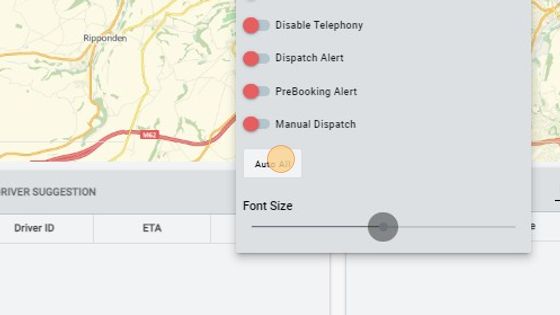
83. Font Size: You can change font size according to your need by sliding the circle right or left.

84. Here you can see your id name you are logging with.

85. by clicking on it shows you a small drop down window where you can logout from by pressing the logout button below.
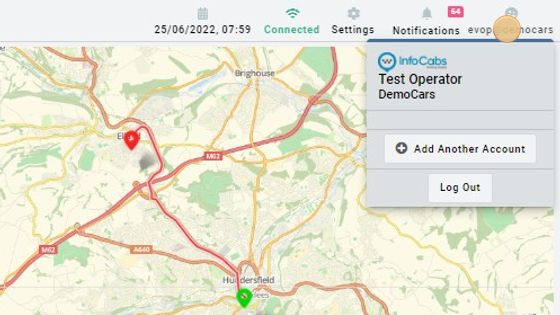
86. "Log Out"