Fixed Price
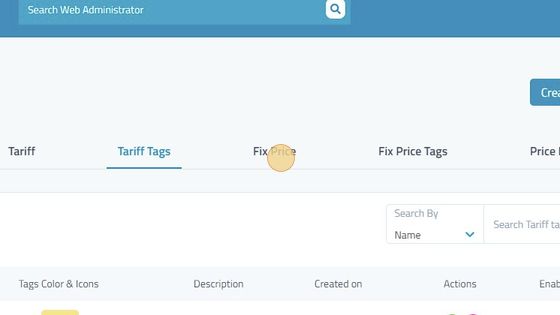
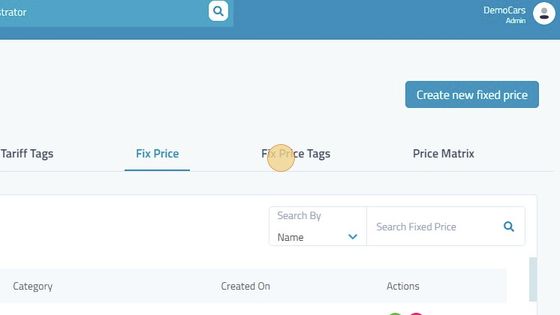
43. Click "Fix Price"
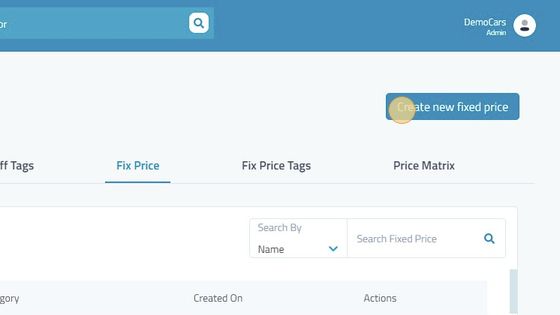
44. Click "Create new fixed price"
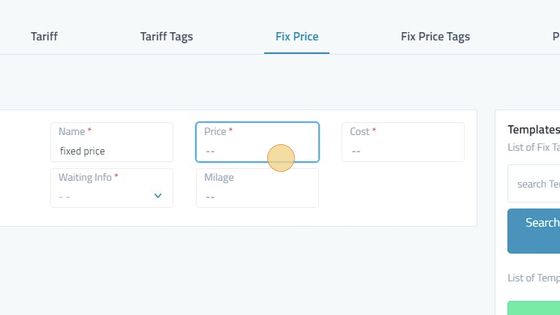
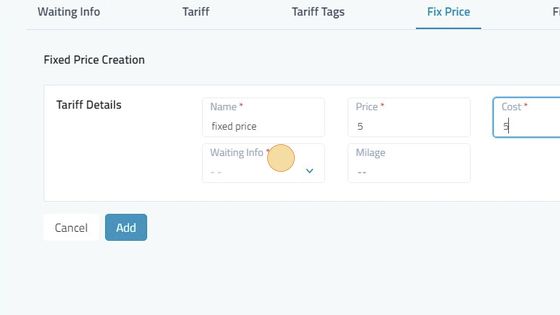
45. Type in the name of the fixed pricing.
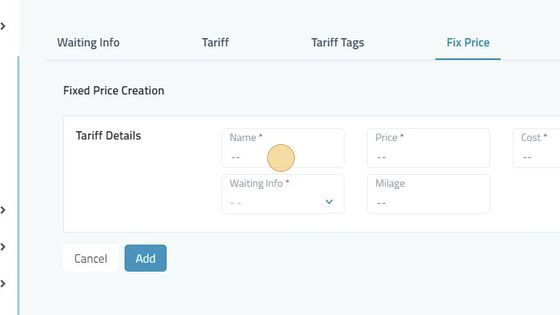
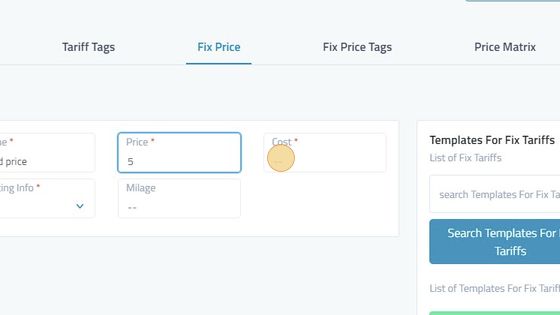
46. Set the price of the fixed pricing.
47. Set the cost of the fixed pricing.
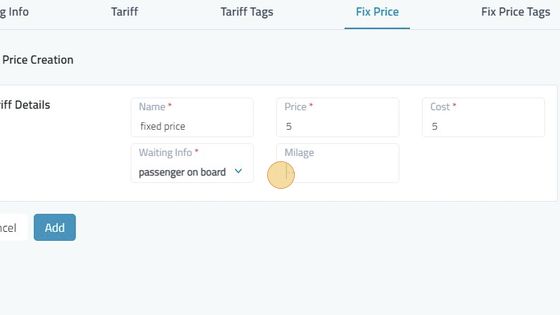
48. Select the waiting charges from one of the waiting info created.
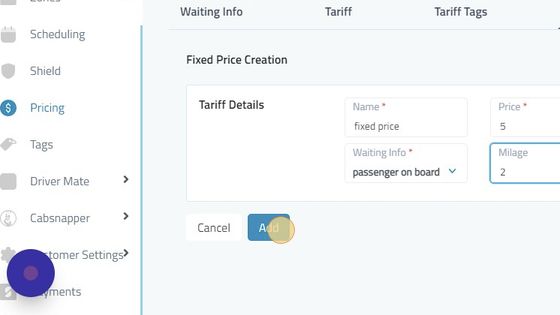
49. Select the mileage of the fixed price to be charged on.
50. Click "Add" to save the fix price.
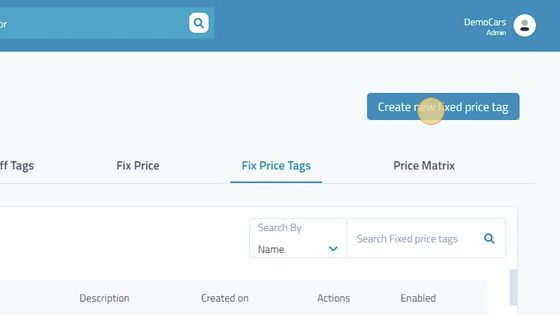
51. Click "Fix Price Tags"
52. Click "Create new fixed price tag"
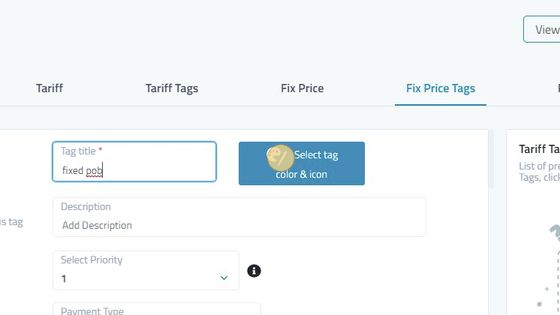
53. Type in the title of the tag.
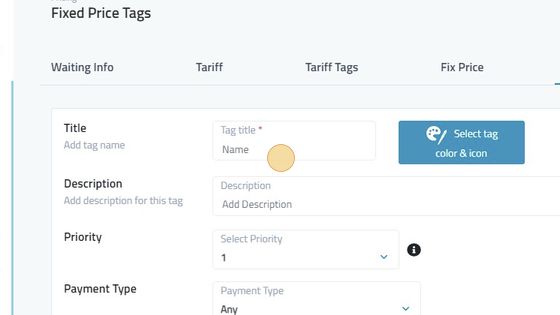
54. Select the icon and colors of the tag.
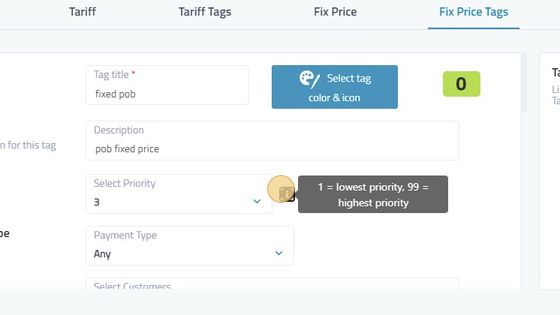
55. Add in the description to remember what changes were made.
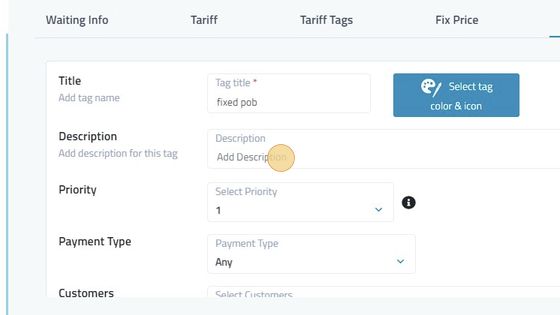
56. Select the priority of the tag. 1 being the lowest and 99 being the highest.
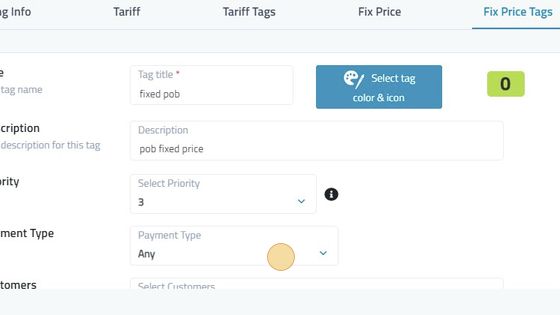
57. Select the payment type of the tags. Cash, Debit/Credit Card, Wallet Or Any.
58. Select Customers to be added in tag. Group can be created to add various customers according to your need.
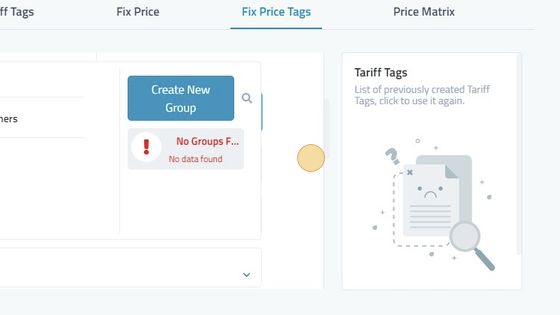
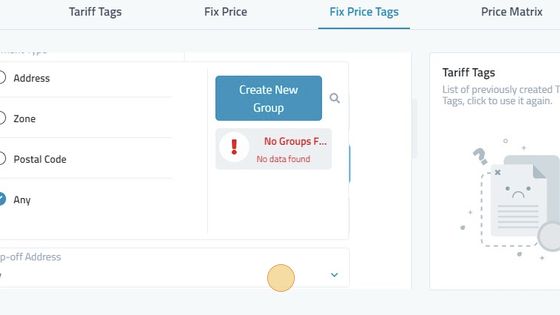
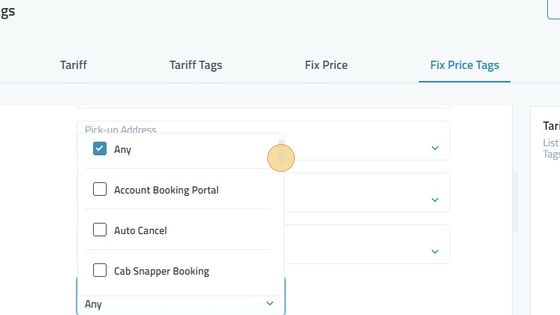
59. Select the pickup address for the tag or create a group to add various addresses or zones.
60. Select Web Operator in Channels List.
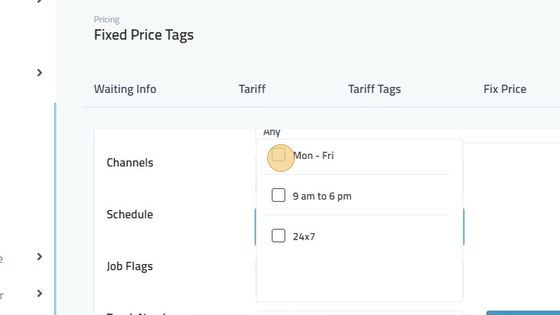
61. Select the schedule for the tag created in scheduling.
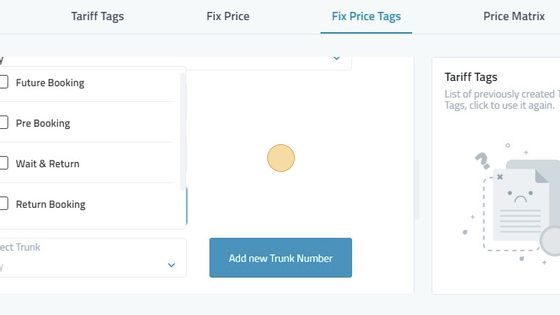
62. Select Job Flags. Future Bookings, Pre Bookings, Wait and return, Return booking or Any.
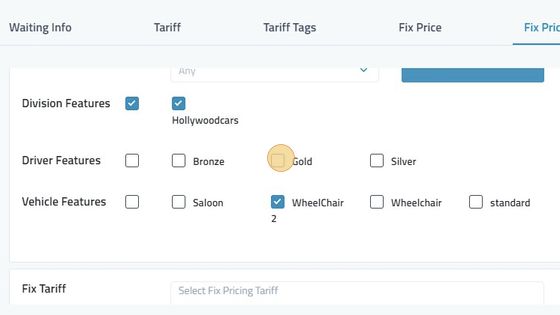
63. Division Features, Driver Features, Vehicle Features can be selected to be added in tags.
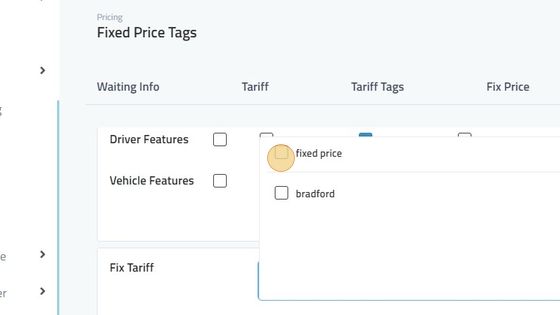
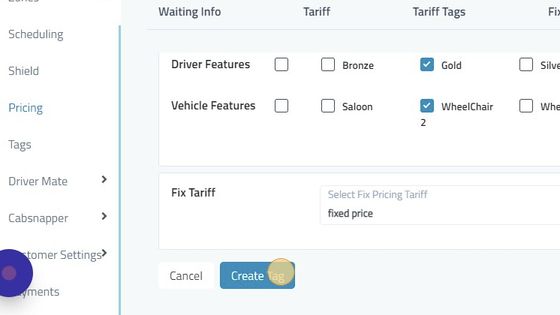
64. Select the fix price you want the tag to be applied on.
65. Click "Create Tag"
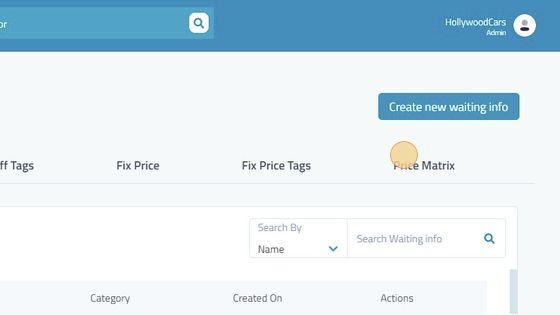
66. Click "Price Matrix"
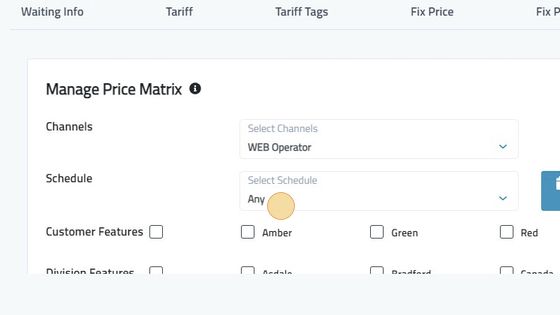
67. Select Web Operator in the Channels List.
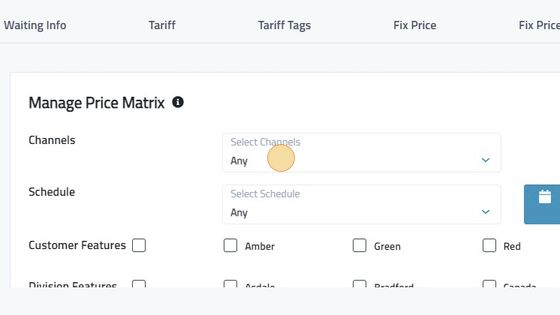
68. Select Schedule Created In Scheduling.
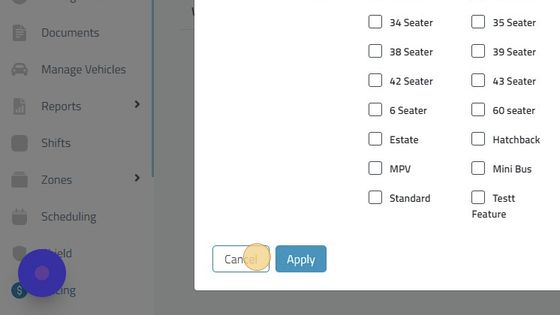
69. Select the features needed to be add in price matrix and apply modifier.
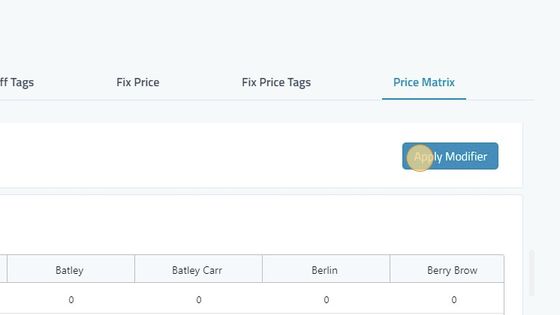
70. Reconfirm the panel and select apply.
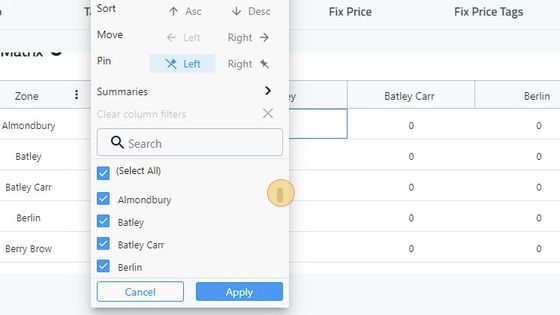
71. Click On three dots with the zone to adjust zones, remove, add them according to your need and then click on apply to save the changes.
72. Double click on boxes to edit zone to zone pricing with the price, cost, mileage and waiting info being added in them. Click on save to save the pricing.
