Tariff Tags
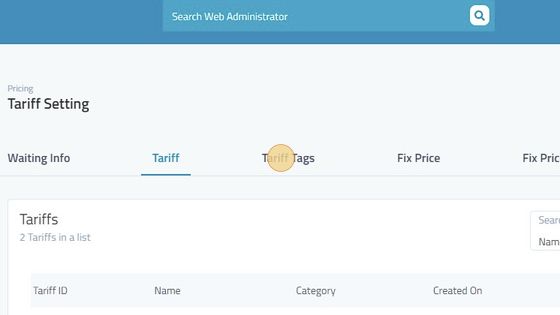
28. Click "Tariff Tags"
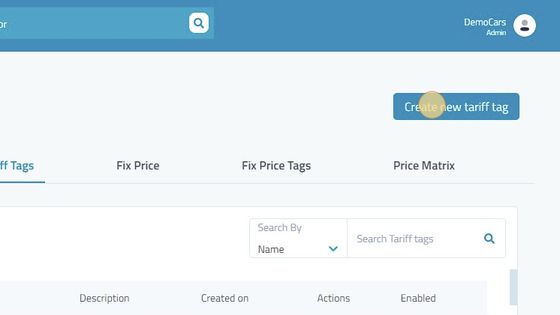
29. Click "Create new tariff tag"
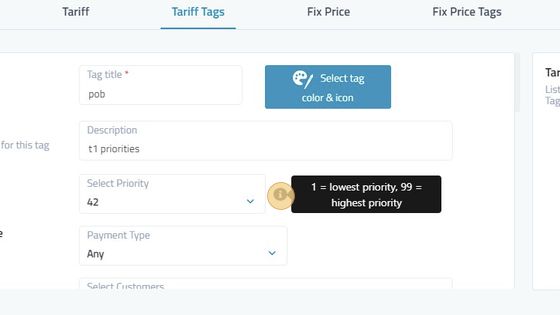
30. Click the "Tag title * to add a title to your tags.

31. Click "Select tag color & icon" to select different icons and colors for the tag.
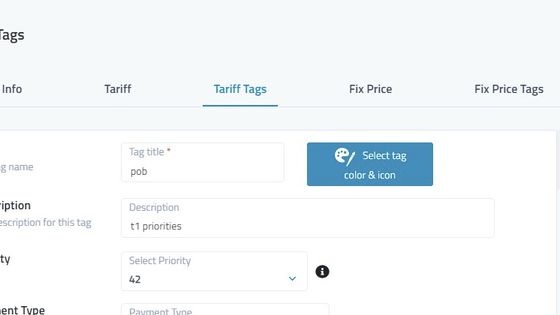
32. Add in the description to remember what changes were made.

33. Select the priority of the tags. 1 being the lowest and 99 being the highest.
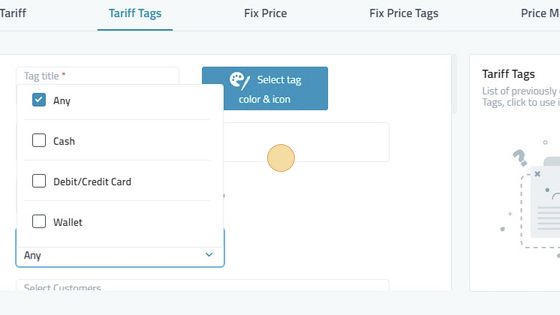
34. Select the payment type i.e Any(to include each one), Cash, Debit/Credit Card, Wallet.
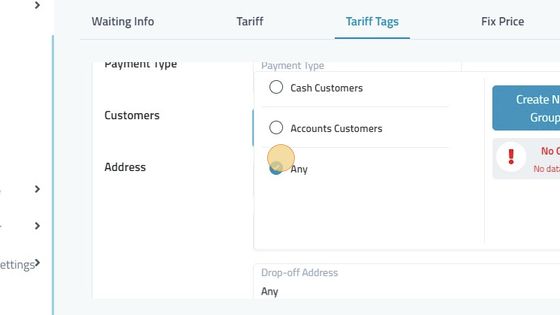
35. Select Customers to be added in Cash, Account Or Any(including both of them). Create a group to add different customers at a time by choosing yourself.
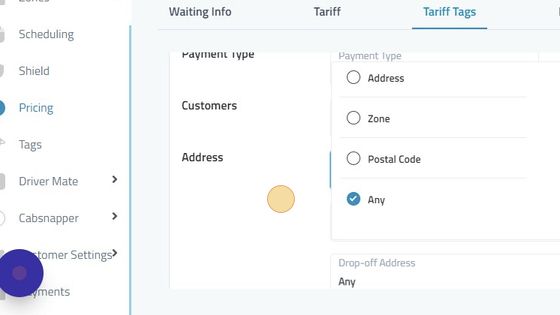
36. Select the pickup address for the tags.
37. Select Web Operator In the channel list.

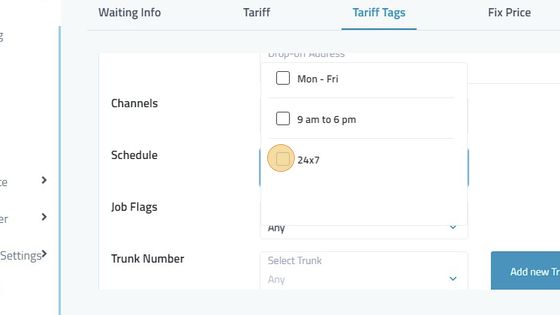
38. Select the schedule created in scheduling according to your need.
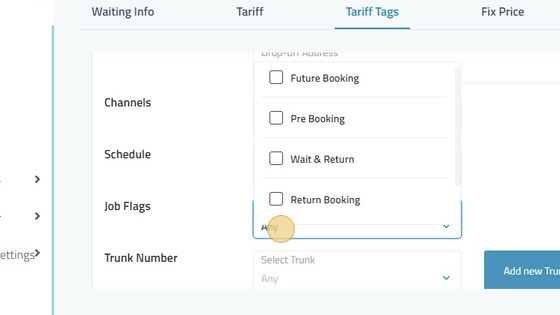
39. Select job flags. future bookings, pre bookings, wait and return, return booking or any.
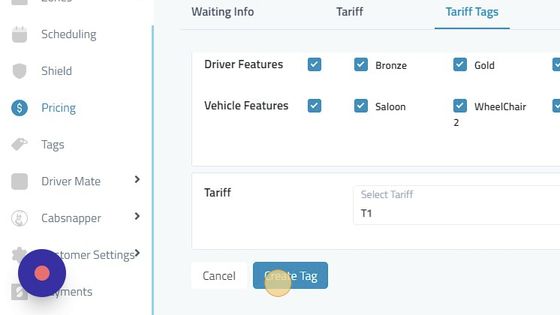
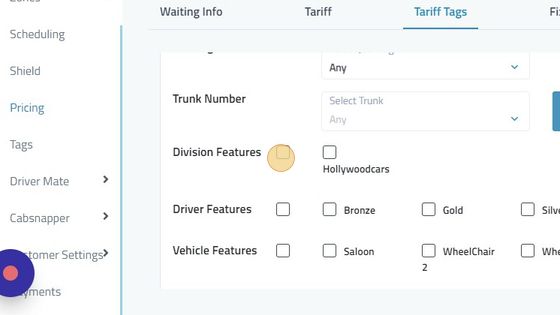
40. Division Features, Driver Features, Vehicle Features can be selected to be added in tags.
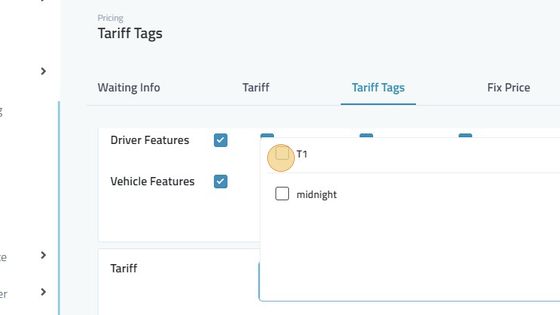
41. Select the tariff you want the tag to be applied on.
42. Click "Create Tag"